

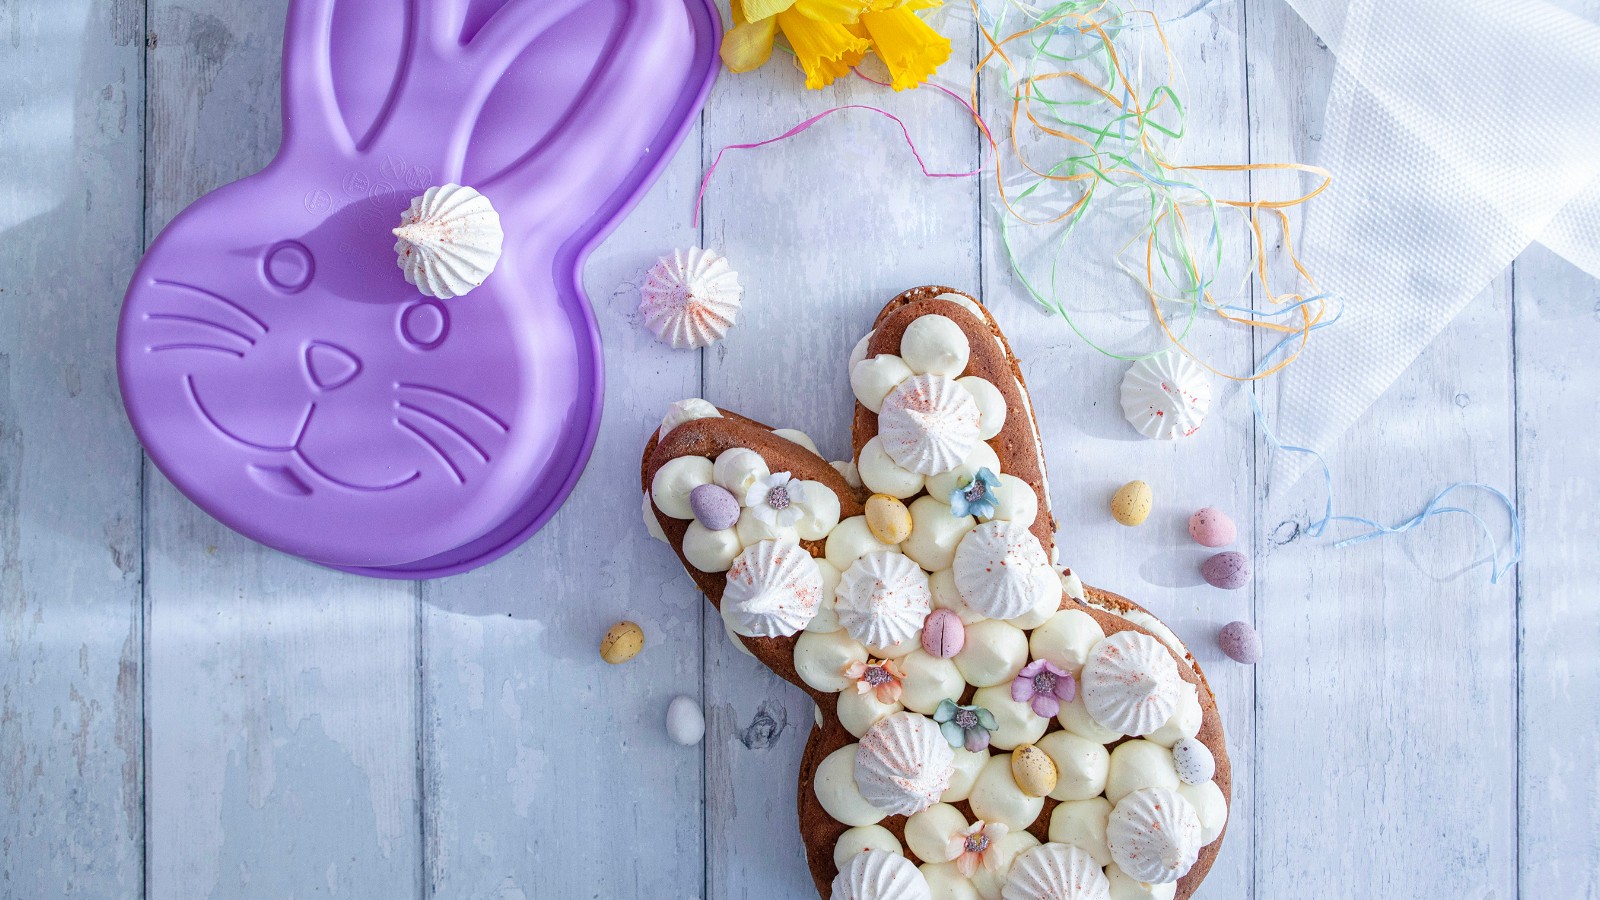
EASTER BUNNY CAKE
Servings
10
Prep Time
5 minutes
Cook Time
30 minutes
Calories
300
A fun and whimsical Easter Bunny showstopper which is surprisingly easy to make. Create on your own or with friends, family and kids. Includes a reuasble mould, piping bag, decorative flowers. Just add milk, butter and a dash creativity to make this Easter bunny your own!
Skill level: Effortless yet impressive
Vegan friendly, Gluten free
Mon Dessert
Ingredients
160g gluten free sponge mix
160g gluten free sponge mix
108g Icing sugar
Decorative flowers
Bunny mould
100g very soft butter (plant or dairy)
-
Non vegan: 2 eggs and 220ml milk
Vegan: 320ml plant milk
-
Smeg Hand Mixer
You will need to add:
Equipment you might like to add
Directions
Preheat the oven to fan 180°C. Grease the bunny mould with a little oil and place on a baking tray.
Empy the two sachets of sponge mix into a large bowl.
For a vegan cake pour in 320ml of full fat oat or soya milk and whisk until the batter has no lumps and is smooth.
For a non vegan cake whisk two large eggs (you should have 120ml of liquid egg). Pour in 220ml of semi skimmed or full fat dairy milk into the sponge mix and whisk, now pour in the egg until the batter is smooth and lump free.
Pour the mixture into the prepared mould and bake for 30 mins until risen and cooked through. Test by inserting a fork through the centre. If still tacky pop back into the oven for 5 mins every oven is different. Remove from the oven and leave to cool for 15 mins in the mould. To unmould flip entire cake onto a wrak or plate then gently peel mould away to remove and leave to cool.
Frosting
Make your frosting by placing 100g very soft butter in a large mixing bowl or stand mixer. Whisk vigorously (electric whisk preferable) until you end up with a very pale butter/ spread.
Sieve the sachet of icing sugar into a bowl. Spoon in a 1/3 of the sifted icing sugar whisk butter again. Go carefully as the icing sugar does tend to go everywhere until it is blended! Repeat until you have added all the sugar and you have a light and fluffy frosting. You can add a little milk (dairy or non) if too stiff a teaspoon of vanilla or lemon can also be lovely if you have to hand. The frosting should be soft enough to pipe.
Place the piping bag in a tall glass and fill with the frosting and twist off the bag and secure with elastic or a clip. Set aside.
Decorating
Place the bunny back on a serving plate with the face markings showing so you have the smooth side on top.
Take your piping bag and pipe frosting in 2.5cm dots lift off straight up to create a point.
Add the artificial flowers.
To make this cake your own why not add chocolate mini eggs, meringue kisses, macarons or fresh berries?
Recipe Note
Vegan gluten free sponge mix (Sugar, Rice Flour, Potato Starch, Chickpea Flour, Tapioca Starch, Maize Flour, Vegetable Fibre (Oat, Linseed), Chickpea Protein, Buckwheat Flour, Raising Agents (Sodium Acid Pyrophosphate, Sodium Bicarbonate, Cream of Tartar), Salt, Stabiliser (Xanthan Gum), Natural Vanilla Flavouring, Turmeric, Icing sugar.
Allergen advice: For allergens, see ingredients in bold.
*Although this kit does not contain these allergens. There may be trace particles of wheat (thus not suitable for Coeliacs), nuts, peanuts, sesame, milk from manufacturing processes outside our control.

Leave a comment